Texture Packer
1) Texture Packing Images
Texture packing is a process where you take multiple images that you will use in your game and make them into a single image that you can extract the images from.
The first thing you'll need to do is download the Texture Packer. You can get it here. Once you're there, download the latest version (gdx-texturepacker-3.2.0.zip)
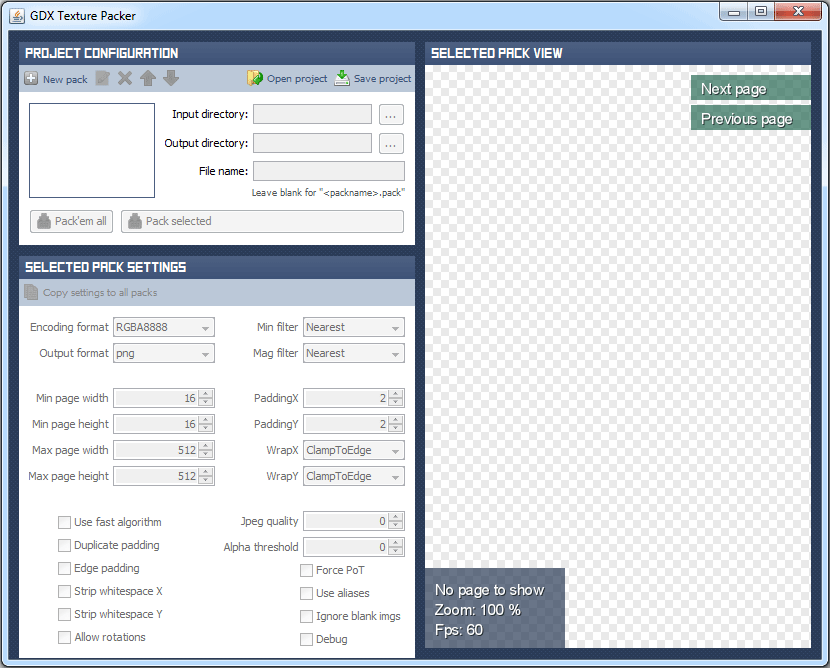
Now run "gdx-texturepacker.jar" and you should see this screen:
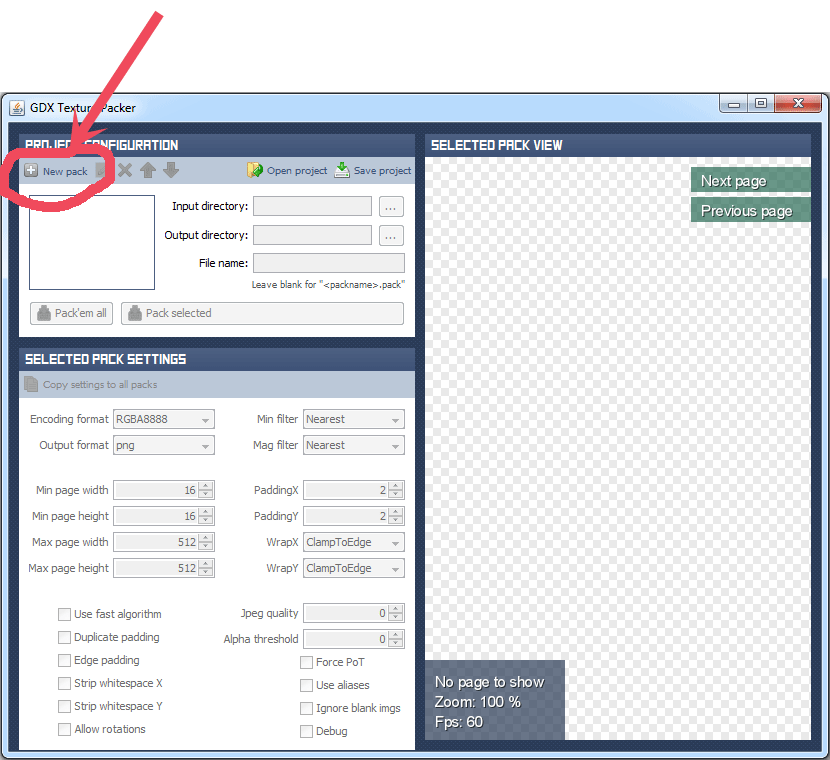
Now the first thing you need to do, is to click the "+" next to the words "New Pack" at the top left of the screen:
That will open this popup where you can name your pack:

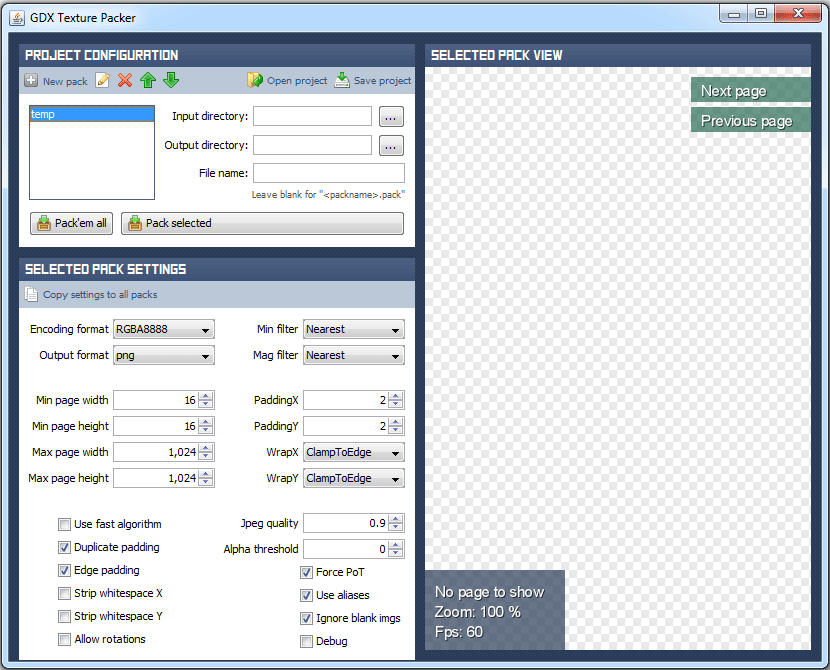
So you name your pack and click "OK" and you'll see the name of your pack in the top left like this (the name is "temp" highlighted in blue under the "new pack" words):
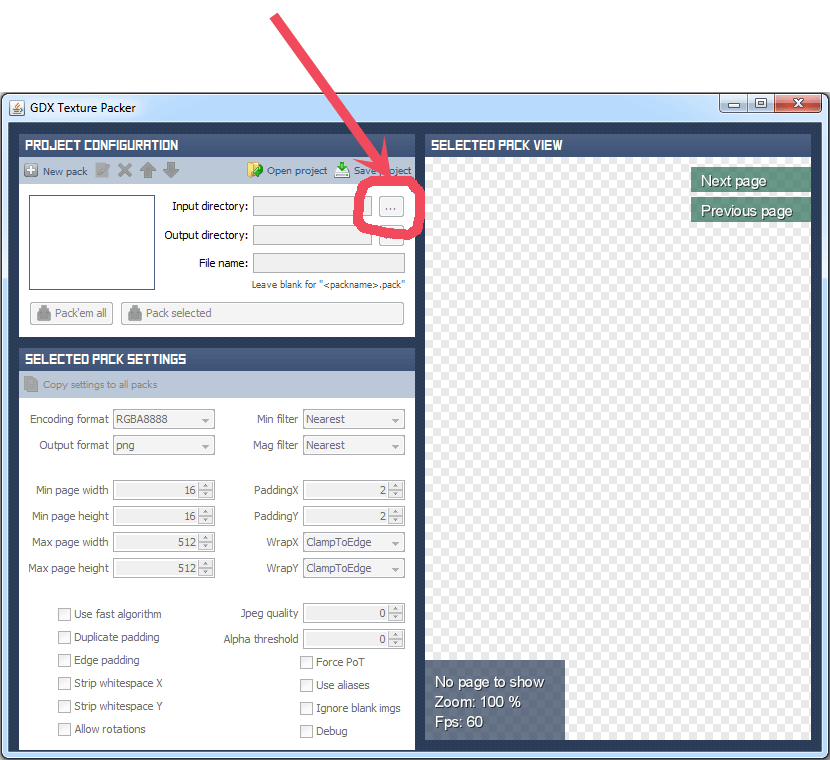
Now click the "..." to the right of the "Input Directory" to set the diretory where your images are that you'd like to pack:
Choose your location from the directory picker and then click the "..." to the right of "Output Directory" to set the directory where your packed images will go:
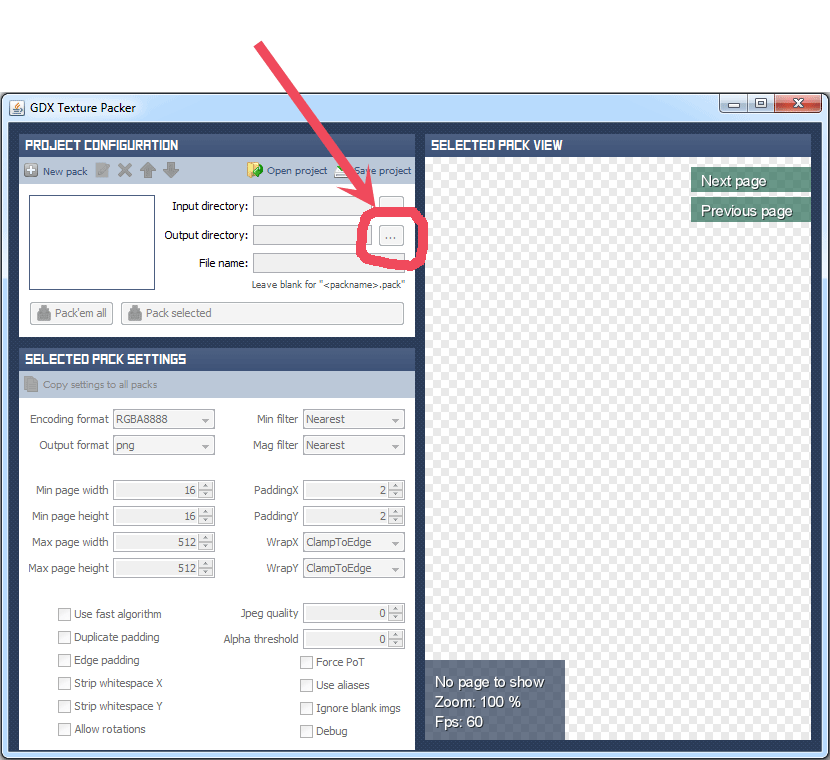
You can optionally set a new name for your pack right below the "Output Directory", although I usually leave this blank as if it is left blank it will just use your name you entered in the second step as the name for the new pack.
Now click "Pack 'em all" to create your new pack:
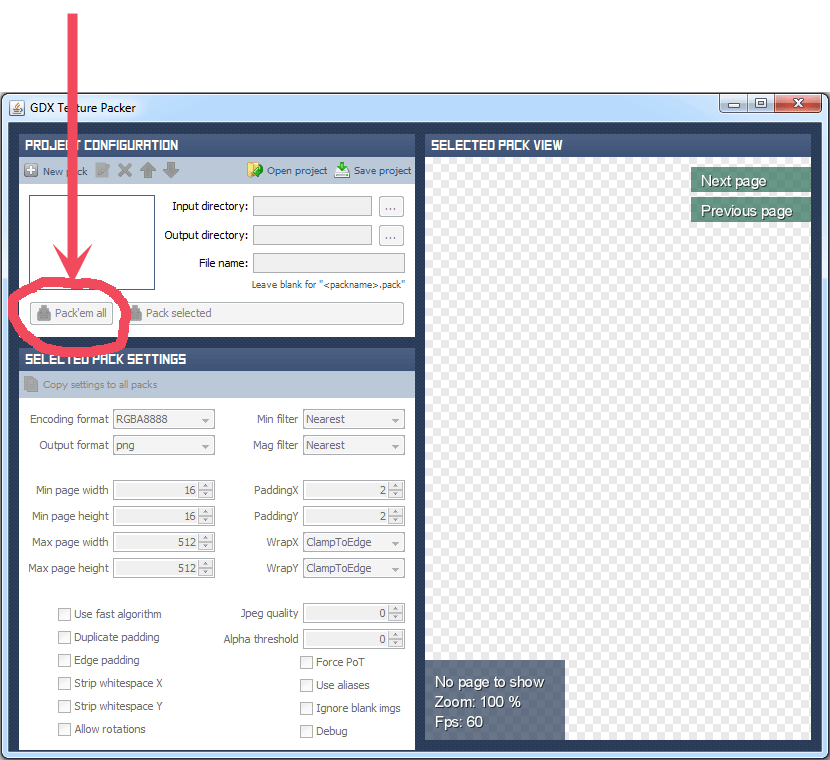
This will create an image consisting of all of the images in your input directory like this:
It will also create a ".pack" file that specifies the location of each individual image on the packed image:
Now copy the ".pack" file and the main packed image file to your image directory for your game and you're ready to use your packed image!